How to Break in a New Holster: A Guide for Comfort and Functionality of Gun Holsters.
Break In a New Holster: Comfort, Retention, and a Smooth Draw
Got a new holster? Whether you carry concealed, open, or train regularly, a thoughtful break-in makes it more comfortable, faster on the draw, and safer to re-holster. Use this step-by-step guide to shape yours the right way.
Why break-in matters
- Comfort: Materials conform to your body and reduce hot spots.
- Retention: Proper shaping gives you a secure hold with a clean release.
- Longevity: Gentle conditioning prevents premature wear.
Step-by-step break-in guide
1) Know your material
- Leather: Classic feel, needs time and light conditioning to mold.
- Kydex: Rigid, consistent retention; minor heat shaping can fine-tune fit.
- Synthetics: Low maintenance, usually need minimal break-in.
2) Initial fitting
- Test retention: Insert your unloaded firearm, lock it in, then invert the holster gently. It should stay secure.
- Check comfort: Wear it around the house to spot pinch points or pressure areas you’ll address during break-in.
3) Use a dummy gun (or ensure the firearm is unloaded)
- Shape safely: Insert a training replica or triple-checked unloaded firearm, then apply light, even pressure on tight spots.
4) Leather-specific break-in
- Light conditioning: Apply a small amount of quality leather conditioner to the outside only. Less is more.
- Wear to mold: With the (unloaded) pistol inserted, wear the holster for short sessions so heat and movement form it naturally.
For ongoing care, see our guide: How to Care Your Leather Gun Holsters.
5) Gradual use and draw practice
- Short sessions first: Increase wear time day by day.
- Slow draws: Build a smooth draw and safe re-holster before adding speed.
6) Fine-tuning Kydex
- Gentle heat: If retention is too tight, warm the specific area lightly with a heat gun, insert the unloaded firearm, and apply mild pressure.
- Set the shape: Let it cool with the firearm inserted to lock in the adjustment.
Still deciding on materials? Compare options here: Leather vs Kydex Holster – FAQs.
7) Maintenance
- Routine checks: Inspect screws, clips, and stitching. Re-tighten hardware as needed.
- Clean smart: Wipe away dust and debris. Condition leather sparingly to keep the mouth stiff for safe re-holstering.
Don’t forget the belt
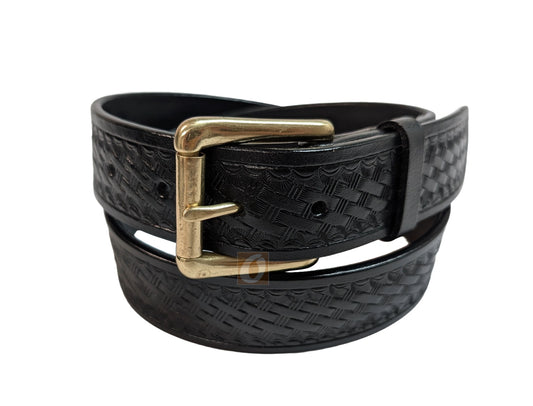
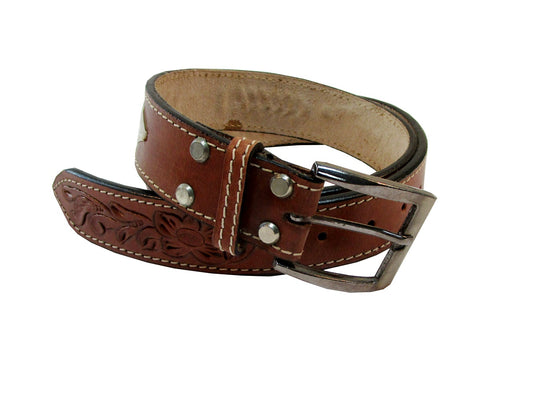
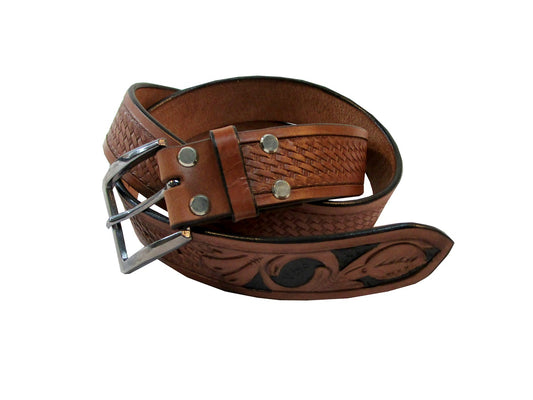
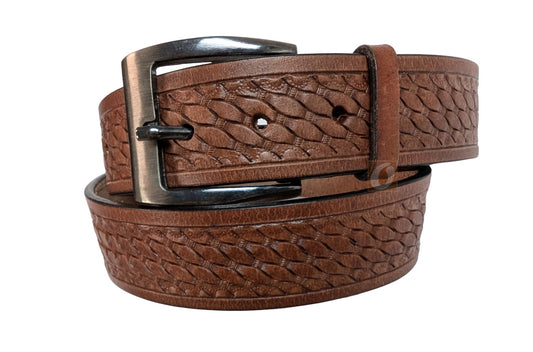
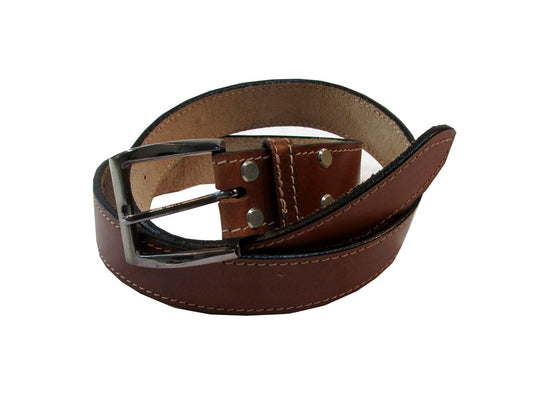
Your holster is only as stable as the belt it rides on. A sturdy leather belt prevents sagging, keeps your draw consistent, and makes break-in feel easier. If you need one, browse our Leather Belts.
Safety first, always
- Verify the firearm is unloaded for all break-in and dry-fire practice.
- Keep your finger off the trigger when drawing and re-holstering.
Related reads
- How to Choose the Right Holster for Your Firearm
- Exploring Holster Types: OWB, IWB, and More
- Leather Holster Care Tips
Find a holster that fits you
Ready for comfort and confidence on the draw? Browse our full range here: Shop Leather Holsters. Prefer model-specific options? See Glock Holsters or 1911 Holsters, and explore Crossdraw and Suede styles.
FAQ
How long does it take to break in a leather holster?
Usually a few short sessions over a week. You’ll feel it loosen where it should—around contact points—while the mouth stays firm for safe re-holstering.
Should I soak the holster or use plastic bags to stretch it?
Nope. Water and heavy “bag tricks” can over-soften leather and wreck retention. Light conditioning plus natural wear works better and lasts longer.
Is gentle heat safe for Kydex?
Yes—used sparingly. Warm the tight spot, insert your unloaded firearm, apply mild pressure, then let it cool in place. If you’re unsure, don’t overheat; small adjustments go a long way.
Do I really need a proper gun belt?
If you want a consistent draw and less printing, yes. A sturdy leather belt supports the holster’s weight and keeps your grip angle predictable. Start here: Leather Belts.
Will break-in make the holster too loose?
It shouldn’t. If leather feels mushy, you’ve over-conditioned. If Kydex feels too loose, check and adjust retention hardware first before reshaping.

